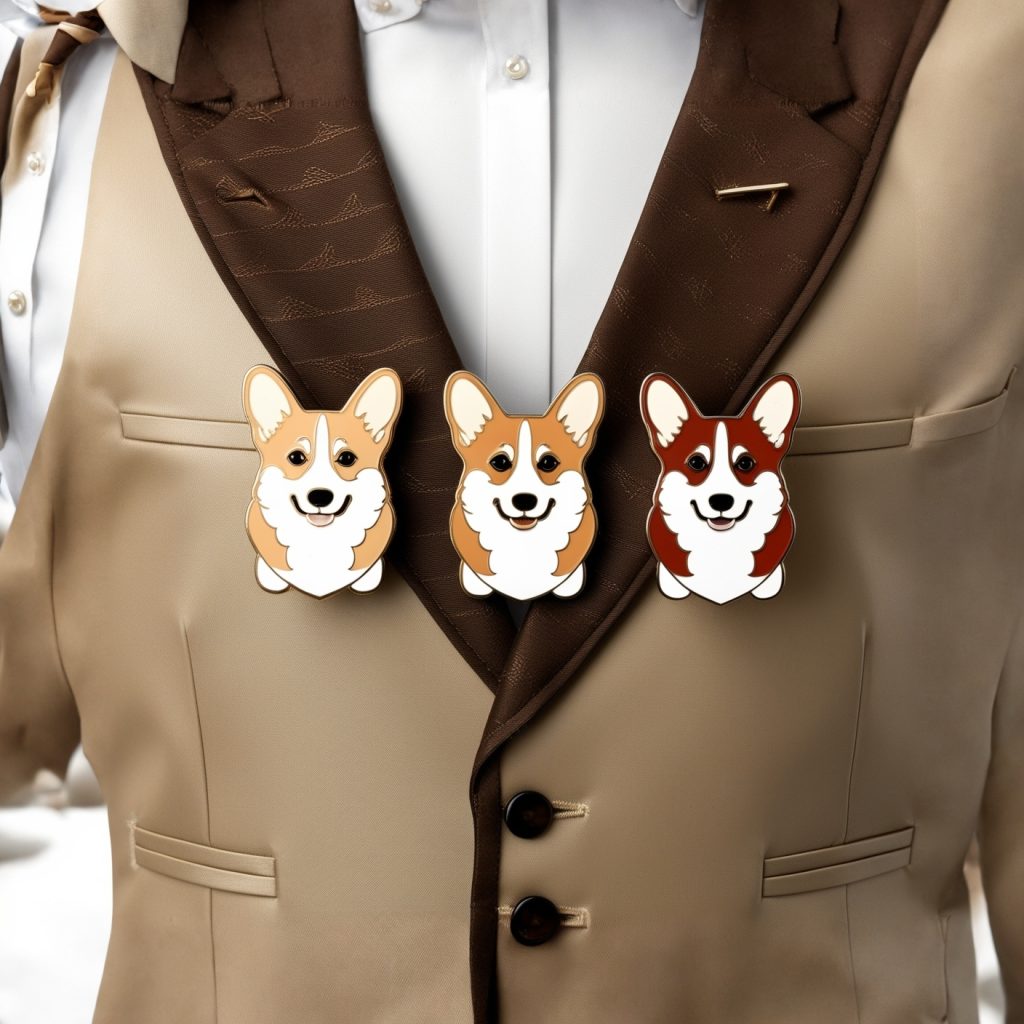
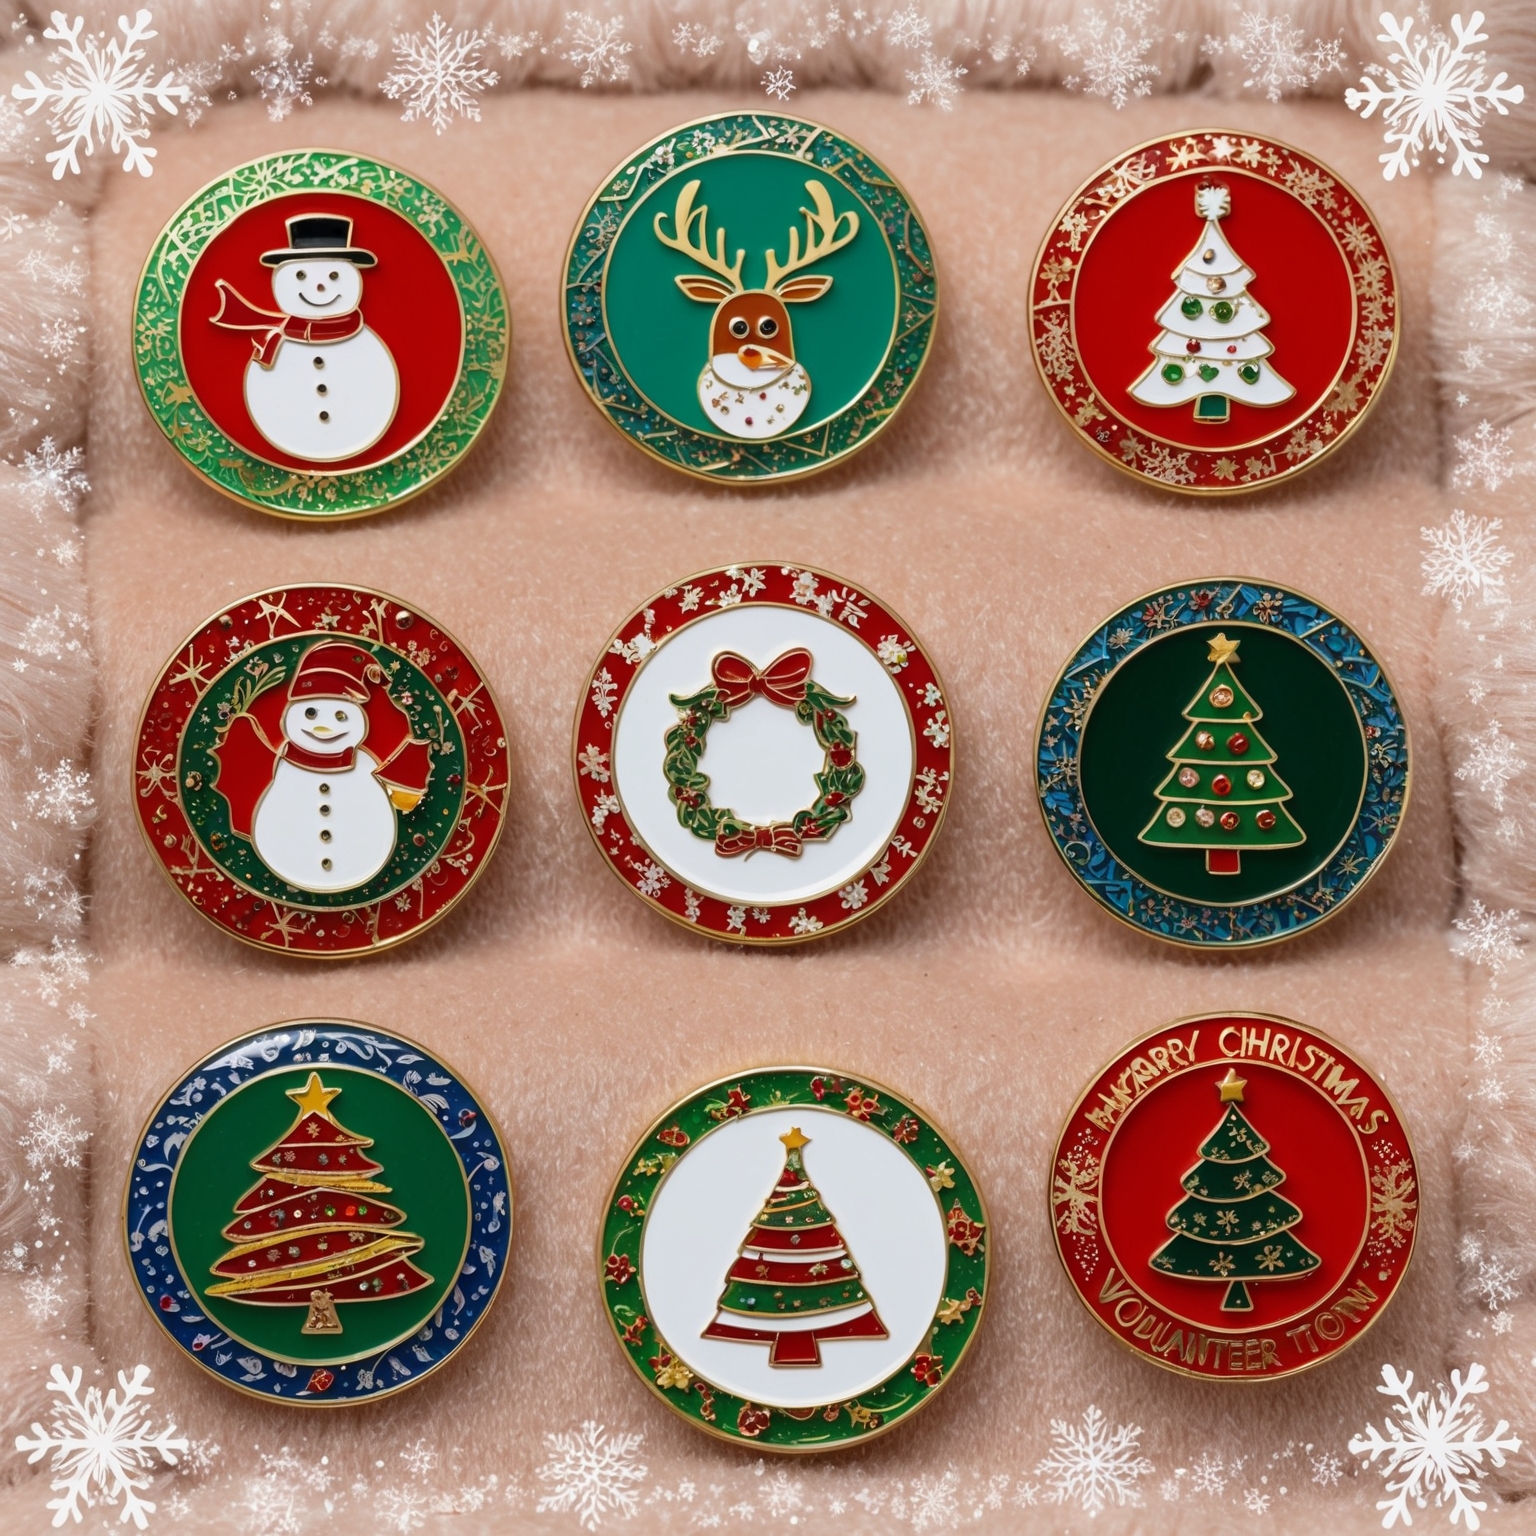
Lapel pins are small yet powerful accessories that can convey messages, showcase affiliations, or simply add a touch of style to any outfit. From commemorating special events to representing organizations or personal interests, lapel pins have become a popular way to express individuality and create meaningful keepsakes. The true magic of lapel pins lies in their ability to be fully customized, allowing you to bring your unique vision to life.
Designing and customizing your own lapel pins can be a rewarding process, but it also requires careful thought and attention to detail. Whether you’re creating lapel pins for a business, an organization, or a personal project, ensuring that the final product is both high-quality and true to your vision is essential. In this article, we’ll explore seven expert tips for customizing your own lapel pins, helping you to achieve a precise, polished, and personalized design.
1. Start with a Clear Concept and Purpose
Before diving into the design process, it’s important to have a clear understanding of the concept and purpose behind your lapel pin. What message do you want the pin to convey? Who is the intended audience? Understanding these factors will help guide your design decisions and ensure that the final product aligns with your goals.
Key Considerations for Concept Development:
- Define the Purpose: Are you creating lapel pins for a corporate event, a fundraiser, a sports team, or a personal project? Knowing the purpose will influence the design elements, such as colors, imagery, and text.
- Identify the Audience: Consider who will be wearing or receiving the lapel pins. Are they employees, customers, supporters, or friends? Understanding the audience will help you choose design elements that resonate with them.
- Set Goals: What do you want to achieve with your lapel pins? Whether it’s raising brand awareness, commemorating a milestone, or simply creating a stylish accessory, having clear goals will guide your design process.
By starting with a clear concept and purpose, you’ll be able to create a lapel pin that effectively communicates your message and meets your objectives.
2. Choose the Right Type of Lapel Pin
Lapel pins come in various types, each offering different finishes, textures, and levels of detail. Choosing the right type of lapel pin is crucial for achieving the look and feel you desire. Here’s a breakdown of the most common types of lapel pins:
Types of Lapel Pins:
- Enamel Pins: Enamel pins are known for their vibrant colors and polished finish. They come in two varieties: soft enamel and hard enamel. Soft enamel pins have a slightly raised texture, while hard enamel pins have a smooth, polished surface. Both types are durable and ideal for designs with bold colors and defined lines.
- Die-Struck Pins: Die-struck pins are made from metal and do not include color. Instead, the design is created using the metal’s texture and finish. These pins are often used for a classic, elegant look and are ideal for designs that emphasize fine details.
- Offset Printed Pins: Offset printed pins allow for full-color designs with intricate details, including gradients and small text. These pins are perfect for complex designs that require a high level of detail and are often used for logos, photographs, and detailed artwork.
- 3D Molded Pins: 3D molded pins are created using a molding process that allows for a three-dimensional design. These pins are perfect for designs that require depth and texture, such as sculptures, busts, or detailed objects.
How to Choose:
- Consider the Design: If your design includes multiple colors, an enamel pin may be the best choice. If you’re aiming for a minimalist or metallic look, a die-struck pin might be more suitable.
- Think About the Finish: Decide whether you want a glossy, polished finish or a more textured, matte finish. This decision will impact the type of pin you choose.
- Match the Pin to the Purpose: The type of lapel pin you choose should align with the purpose of the pin. For example, if you’re creating a pin to commemorate a formal event, a die-struck or hard enamel pin may be more appropriate.
By choosing the right type of lapel pin, you’ll set the foundation for a design that meets your aesthetic and functional goals.
3. Select Colors That Pop
Color plays a critical role in the design of lapel pins. The right color choices can make your pin stand out and catch the eye, while poor color choices can result in a design that looks dull or muddled. When customizing your lapel pin, it’s essential to select colors that not only look great but also convey the intended message.
Tips for Choosing Colors:
- Stick to a Limited Palette: To avoid overwhelming the design, stick to a limited color palette—ideally no more than three to five colors. This helps create a cohesive look and ensures that each color has a purpose.
- Use High Contrast: High-contrast color combinations, such as black and white or blue and yellow, help design elements stand out and make the pin more visually striking.
- Consider Your Brand Colors: If you’re designing lapel pins for a business or organization, consider using your brand’s colors to maintain consistency and reinforce brand identity.
- Use Pantone Matching System (PMS): To ensure color accuracy, use the Pantone Matching System (PMS) when specifying colors for your lapel pin. This ensures that the colors will look exactly as you envision them, both on-screen and in the final product.
Common Color Combinations:
- Classic: Black, gold, and white create a timeless and elegant combination suitable for formal events or corporate branding.
- Bold: Red, blue, and yellow offer a vibrant and energetic look, perfect for sports teams or events.
- Minimalist: White, gray, and silver create a clean, modern aesthetic that works well for simple, understated designs.
By carefully selecting colors that pop and complement your design, you’ll create a lapel pin that is visually appealing and memorable.
4. Incorporate Meaningful Symbols and Imagery
Symbols and imagery are powerful tools for conveying your message through lapel pins. Whether you’re representing an organization, commemorating an event, or expressing personal interests, the symbols and imagery you choose should resonate with your audience and reflect the purpose of the pin.
Ideas for Incorporating Symbols and Imagery:
- Logo Integration: If the lapel pin is for a business, organization, or event, consider incorporating the logo into the design. Ensure that the logo is clear, recognizable, and properly scaled for the size of the pin.
- Icons and Motifs: Use icons or motifs that represent the theme or purpose of the pin. For example, a heart symbol might represent a charity fundraiser, while a star could symbolize excellence or achievement.
- Personal Interests: For personal or hobby-related pins, consider incorporating imagery that reflects your interests, such as a musical note for a music lover or a mountain for an outdoor enthusiast.
- Historical or Cultural Symbols: If the pin is meant to commemorate a historical event or celebrate cultural heritage, consider using symbols that are significant to that history or culture.
Balancing Imagery and Text:
- Hierarchy of Elements: When combining imagery and text, establish a clear hierarchy. Decide which element should be the focal point and ensure that other elements complement it rather than compete with it.
- Keep It Simple: Avoid overcrowding the design with too many symbols or images. A simple, well-executed design is often more effective than a complex one.
By incorporating meaningful symbols and imagery, you’ll create a lapel pin that not only looks great but also carries significant meaning for the wearer.
5. Pay Attention to Scale and Proportion
The small size of lapel pins means that every design element must be carefully scaled and proportioned to ensure clarity and impact. When customizing your lapel pin, it’s important to consider how the design will translate to a small, wearable format.
Tips for Scaling Your Design:
- Simplify Details: Fine details that look great on a larger canvas may become indistinguishable when scaled down to the size of a lapel pin. Simplify complex designs to focus on the most important elements.
- Text Size: Ensure that any text included in the design is legible at a small size. Choose bold, simple fonts that are easy to read, and avoid using too much text.
- Proportional Elements: Maintain proportionality between different design elements. For example, if you’re including both text and an image, make sure that one doesn’t overpower the other unless intentionally designed that way.
- Preview at Actual Size: Before finalizing your design, preview it at the actual size of the lapel pin to ensure that all elements are clear and well-proportioned.
By paying attention to scale and proportion, you’ll create a lapel pin that is visually balanced and easy to appreciate at a glance.
6. Choose the Right Attachment Method
The attachment method you choose for your lapel pin can impact both its functionality and how it is worn. Different attachment methods offer varying levels of security, comfort, and ease of use. Selecting the right attachment method is essential for ensuring that your lapel pin can be worn comfortably and securely.
Common Attachment Methods:
- Butterfly Clutch: The butterfly clutch is the most popular attachment method for lapel pins. It is easy to use and provides a secure hold, making it suitable for most types of pins.
- Rubber Clutch: The rubber clutch offers a softer and more flexible hold compared to the butterfly clutch. It is ideal for those who prioritize comfort and is often used for pins worn on thinner fabrics.
- Magnetic Backing: Magnetic backings use a magnet to hold the pin in place, eliminating the need to pierce the fabric. This method is perfect for those who want to avoid damaging their clothing.
- Screw-Back: The screw-back attachment provides an exceptionally secure hold and is often used for more valuable or heavier pins. This method is ideal for pins that will be worn frequently or on thicker fabrics.
How to Choose:
- Consider the Intended Use: Think about how and where the lapel pin will be worn. For example, a butterfly clutch may be ideal for everyday wear, while a magnetic backing might be better for delicate fabrics.
- Prioritize Comfort: Ensure that the attachment method you choose is comfortable to wear, especially if the pin will be worn for extended periods.
- Factor in Security: If the lapel pin is valuable or intended for frequent use, choose an attachment method that offers a secure hold to prevent loss.
By choosing the right attachment method, you’ll ensure that your lapel pin is both functional and comfortable to wear.
7. Work with a Professional Designer and Manufacturer
While you may have a clear vision for your lapel pin, working with a professional designer and manufacturer can help bring your ideas to life with precision and quality. Professionals can provide valuable insights, technical expertise, and high-quality production that will elevate your custom lapel pin to the next level.
Benefits of Professional Design and Manufacturing:
- Expertise: Professional designers understand the nuances of lapel pin design, including how to balance color, text, and imagery. They can refine your ideas and ensure that the final design is both visually appealing and functional.
- Customization Options: Working with a professional allows you to access a wider range of customization options, including custom shapes, finishes, and attachment methods.
- High-Quality Production: A professional manufacturer can produce lapel pins with precise detail, vibrant colors, and durable materials. They also ensure consistency across multiple pins, so each one meets your expectations.
- Technical Knowledge: Designers and manufacturers have the technical knowledge needed to ensure that your lapel pin design works well within the production constraints, resulting in a high-quality final product.
How to Collaborate:
- Share Your Vision: Provide the designer with a clear brief that includes your concept, purpose, and any specific design elements you want to include. The more information you provide, the better they can bring your vision to life.
- Review and Revise: Work closely with the designer throughout the process, providing feedback and requesting revisions as needed. This collaboration ensures that the final design meets your expectations.
- Approve the Final Design: Before production begins, make sure to review and approve the final design to ensure it aligns with your vision and meets all of your requirements.
By collaborating with a professional designer and manufacturer, you’ll ensure that your lapel pin is of the highest quality and accurately reflects your vision.
Create a Lapel Pin That Reflects Your Unique Vision
Customizing your own lapel pins is a creative and rewarding process that allows you to express your individuality, commemorate special occasions, or represent your organization with pride. By following these seven expert tips—starting with a clear concept, choosing the right type of pin, selecting colors that pop, incorporating meaningful symbols, paying attention to scale, choosing the right attachment method, and working with a professional—you’ll create a lapel pin that is both visually stunning and meaningful.
Whether you’re designing lapel pins for a corporate event, a charity fundraiser, a sports team, or a personal project, attention to detail and thoughtful design are key to achieving a polished and professional final product. With the right approach, your custom lapel pins will not only look great but also serve as lasting symbols of the message, values, or memories you want to convey.
So, take the time to carefully plan and design your lapel pins, and watch as they become cherished accessories that resonate with everyone who wears them. With precision and creativity, you can create lapel pins that stand out, tell a story, and leave a lasting impression.
If you are interested in buying high quality custom trading pins, you can call us at 1-800-641-1299 or fill out a FREE quote form.


