


The Charm of Handmade Gifts
In a world where mass-produced items dominate, there’s something undeniably special about a handmade gift. The time, effort, and thoughtfulness that go into creating something with your own hands make it all the more meaningful. One of the most delightful handmade gifts you can create is a custom lapel pin. These small but impactful accessories are perfect for expressing individuality and creativity, making them a memorable gift for any occasion.
But how do you go about making custom lapel pins? And what are some creative ideas that will make your pins stand out? In this article, we’ll explore various DIY ideas for creating custom lapel pins that are not only unique but also cherished by those who receive them. Whether you’re a seasoned crafter or a beginner looking to try something new, these ideas will inspire you to create beautiful, one-of-a-kind lapel pins.
Why Choose Custom Lapel Pins as Gifts?
Before diving into the DIY projects, let’s discuss why custom lapel pins make such fantastic gifts.
1. Personalization
- Custom lapel pins can be tailored to reflect the recipient’s personality, interests, and preferences. Whether it’s their favorite colors, hobbies, or even inside jokes, you can design a pin that’s uniquely them.
2. Versatility
- Lapel pins are versatile accessories that can be worn on various occasions. They can be added to jackets, bags, hats, and even scarves, making them a stylish addition to any outfit.
3. Sentimental Value
- A handmade lapel pin carries sentimental value that a store-bought gift simply can’t match. The recipient will appreciate the time and effort you put into creating something just for them.
4. Affordability
- Creating custom lapel pins can be an affordable way to give a thoughtful gift. With a few materials and some creativity, you can craft something truly special without spending a lot of money.
5. Memorability
- Custom lapel pins are memorable gifts that stand out. Unlike generic gifts, a handmade pin is likely to be cherished and remembered for years to come.
Essential Tools and Materials for DIY Custom Lapel Pins
Before you start crafting, you’ll need to gather some essential tools and materials. Here’s what you’ll need:
1. Base Pins
- Start with blank base pins that you can customize. These are available in various shapes and sizes, such as circles, squares, hearts, and more. You can find them online or at your local craft store.
2. Enamel Paint
- Enamel paint is perfect for adding color and detail to your pins. It’s durable and gives a glossy finish that makes your designs pop. Choose colors that match your design and the recipient’s preferences.
3. Polymer Clay
- Polymer clay is a versatile material that can be molded into any shape or design. It’s perfect for creating 3D elements on your pins or crafting the entire pin from scratch. Once baked, it hardens into a durable, long-lasting piece.
4. Acrylic Paint
- Acrylic paint is another option for adding color to your pins. It’s easy to work with and dries quickly. You can use it for both detailed designs and broad color applications.
5. Resin
- Resin is used to seal and protect your designs, giving them a glossy, professional finish. It also adds durability, ensuring that your pins last a long time.
6. Paintbrushes
- You’ll need a variety of paintbrushes for different tasks, such as applying enamel or acrylic paint, adding fine details, or brushing on resin. Choose brushes of different sizes and shapes for the best results.
7. Pin Backs
- Pin backs are the mechanisms that attach your pin to clothing or accessories. Choose sturdy pin backs that will securely hold your custom lapel pins in place.
8. Craft Glue
- Craft glue is essential for attaching various elements to your pin base, such as clay decorations, embellishments, or pin backs. Make sure to use a strong, fast-drying glue for the best results.
9. Embossing Powder and Heat Gun
- Embossing powder can add a raised, textured effect to your pins. You’ll also need a heat gun to melt the powder and set the design.
10. Decorative Elements
- These can include rhinestones, beads, sequins, glitter, or any other small embellishments you want to add to your pins. These elements can help make your designs stand out and add a touch of sparkle.
Creative DIY Ideas for Custom Lapel Pins
Now that you’ve gathered your materials, it’s time to get creative! Here are some DIY ideas for custom lapel pins that are sure to impress.
1. Minimalist Monogram Pins
- Custom Lapel Pins Keyword: Minimalist monogram pins are a chic and simple way to personalize a lapel pin. Start with a blank pin base and use enamel or acrylic paint to create a monogram of the recipient’s initials. Choose a sleek, modern font for a minimalist look. You can also add a tiny decorative element, such as a small heart or star, for a bit of flair. Once your design is complete, seal it with resin to protect the paint and give it a glossy finish.
2. Clay Flower Pins
- Polymer clay is perfect for creating delicate flower pins that make beautiful gifts. Mold the clay into the shape of a flower, such as a rose, daisy, or sunflower. Use different colors of clay to create a realistic effect, or stick to a single color for a more stylized look. Once you’ve shaped your flower, bake it according to the clay’s instructions. After it’s hardened, attach it to a pin base with craft glue and seal it with resin for durability.
3. Pop Culture Character Pins
- For the pop culture enthusiast, create a custom lapel pin featuring their favorite character from a movie, TV show, or comic book. Start with a blank pin base and use enamel paint to bring the character to life. You can recreate their face, outfit, or even their iconic logo. These pins make great gifts for fans and are sure to be a hit at conventions or fan gatherings.
4. Vintage-Inspired Cameo Pins
- Create a vintage-inspired cameo pin using polymer clay and paint. Start by molding the clay into an oval shape and sculpting a raised profile of a face, much like traditional cameo jewelry. Once the clay is baked and hardened, paint the profile in a contrasting color to the background, typically white on black or vice versa. Seal the pin with resin and attach it to a decorative frame to complete the vintage look.
5. Embossed Metallic Pins
- Use embossing powder to create metallic pins with a raised design. Start by painting your pin base with a solid color. Once the paint is dry, apply a design using embossing ink and sprinkle embossing powder over it. Use a heat gun to melt the powder, which will create a raised, metallic effect. This technique is perfect for creating elegant, eye-catching pins that are both stylish and unique.
6. Custom Pet Portrait Pins
- For animal lovers, create a custom lapel pin featuring a portrait of their beloved pet. Use polymer clay or paint to recreate the pet’s likeness, whether it’s a cat, dog, or even a bird. Add tiny details like fur texture, whiskers, or a collar to make the portrait as realistic as possible. This personalized gift will be cherished by any pet owner and worn with pride.
7. Nature-Themed Pins
- Capture the beauty of nature with custom lapel pins inspired by plants, animals, or landscapes. Use polymer clay to create 3D elements like leaves, flowers, or animals, or paint a scenic landscape directly onto the pin base. You can also incorporate natural elements like small stones, dried flowers, or pressed leaves to add an organic touch to your design.
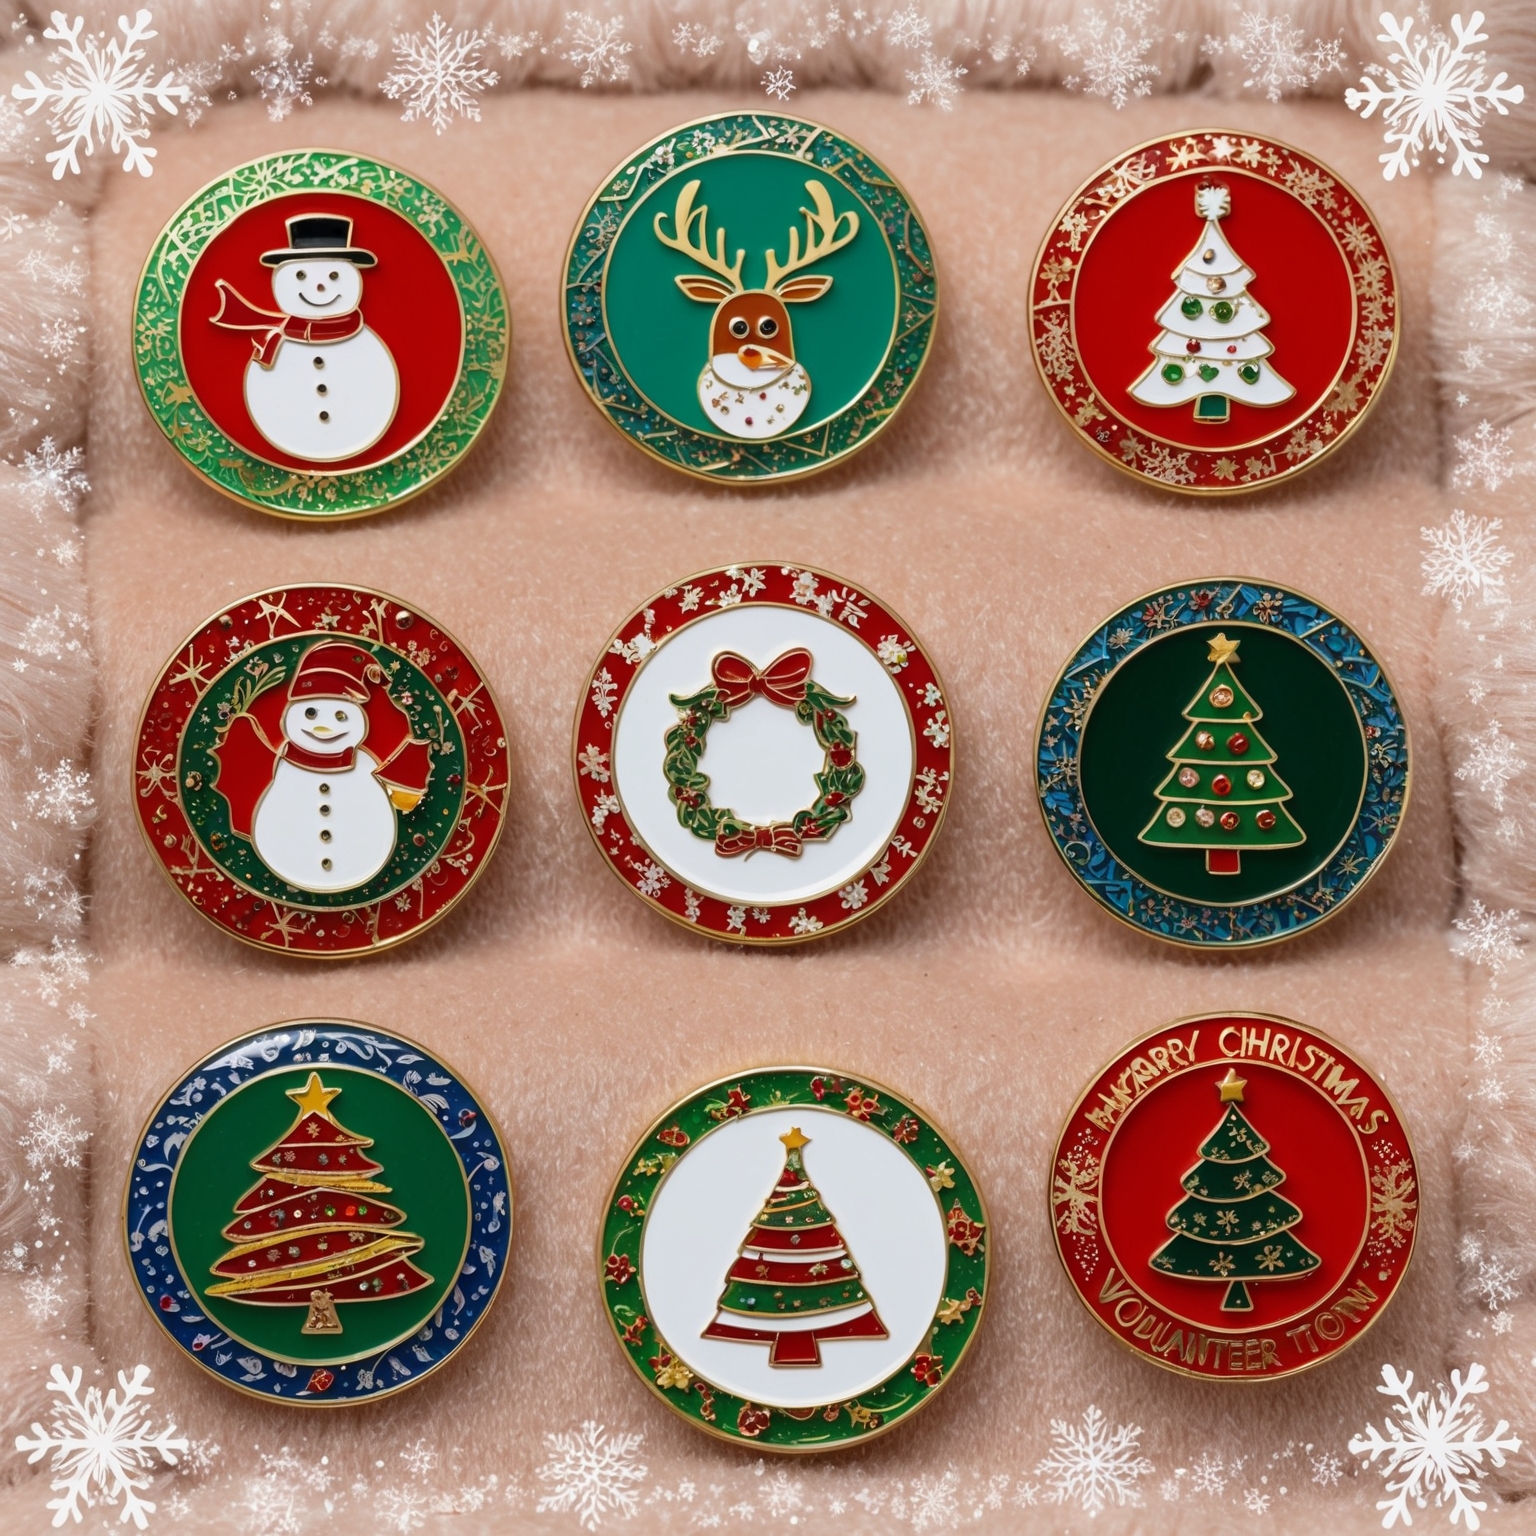
8. Holiday-Themed Pins
- Holiday-themed lapel pins make festive gifts that can be worn year after year. Create pins featuring symbols of the season, such as Christmas trees, pumpkins, hearts, or shamrocks. Use bright, cheerful colors and add glitter or rhinestones for extra sparkle. These pins are perfect for holiday parties, stocking stuffers, or as part of a themed gift package.
9. Inspirational Quote Pins
- Create a pin that inspires with an uplifting quote or word. Use a blank pin base and carefully paint or write the quote using fine-tipped brushes or paint pens. Choose a font style that matches the tone of the message, whether it’s elegant and script-like or bold and modern. You can also add small decorative elements, such as stars or flowers, to enhance the design.
10. Glow-in-the-Dark Pins
- For a fun and unique twist, create glow-in-the-dark lapel pins. Use glow-in-the-dark paint or polymer clay to craft your design, whether it’s a star, moon, or spooky Halloween symbol. These pins absorb light during the day and emit a soft glow at night, making them both functional and fun.
Step-by-Step Guide: Making a Custom Lapel Pin
Let’s walk through the process of making a custom lapel pin using polymer clay and enamel paint. This guide will take you from start to finish, creating a personalized pin that’s perfect for gifting.
Step 1: Choose Your Design
Start by deciding on a design for your pin. Consider the recipient’s interests and preferences when choosing a theme. Sketch your design on paper first to get a sense of the final look. Keep in mind the size of your pin base, as intricate details may be challenging to achieve on a small surface.
Step 2: Mold the Polymer Clay
Take your polymer clay and begin molding it into the desired shape. If your design includes 3D elements, such as a flower or animal, sculpt these separately and then attach them to the pin base. Use sculpting tools to add details and textures, such as fur lines or petal veins. If you’re creating a flat design, roll the clay into a thin sheet and cut out the shape using a sharp blade.
Step 3: Bake the Clay
Once you’re satisfied with your design, bake the clay according to the manufacturer’s instructions. Baking times and temperatures may vary depending on the brand of clay you’re using, so be sure to follow the guidelines closely. After baking, allow the clay to cool completely before handling.
Step 4: Paint the Design
Now it’s time to add color! Use enamel or acrylic paint to bring your design to life. Apply the paint in thin layers, allowing each layer to dry before adding more. Use fine-tipped brushes for detailed work, such as painting facial features or intricate patterns. Don’t forget to paint the edges of the clay to give your pin a polished look.
Step 5: Add Embellishments
If your design calls for embellishments, such as rhinestones, beads, or glitter, now is the time to add them. Use craft glue to attach these elements securely to your pin. Be creative with your embellishments, but be careful not to overdo it—sometimes less is more.
Step 6: Seal with Resin
To protect your design and give it a glossy finish, seal your pin with resin. Follow the instructions on the resin packaging to mix and apply the resin evenly over the surface of your pin. Use a toothpick or small brush to spread the resin into any crevices or around 3D elements. Allow the resin to cure for the recommended amount of time, usually 24-48 hours.
Step 7: Attach the Pin Back
Once the resin has fully cured, flip your pin over and attach the pin back using strong craft glue. Ensure the pin back is centered and securely attached, as this will affect how the pin sits when worn. Allow the glue to dry completely before using the pin.
Step 8: Package Your Pin
Now that your custom lapel pin is complete, it’s time to package it for gifting. Consider placing the pin on a small card or in a decorative box to present it beautifully. You can also include a handwritten note explaining the meaning behind the design, adding a personal touch to your gift.
Tips for Successful DIY Custom Lapel Pins
Creating custom lapel pins can be a fun and rewarding project, but it can also be challenging, especially for beginners. Here are some tips to help ensure your DIY pins turn out beautifully:
1. Start Simple
- If you’re new to crafting lapel pins, start with simple designs. As you gain confidence and experience, you can move on to more complex projects.
2. Use Quality Materials
- Invest in high-quality materials, such as durable polymer clay, vibrant enamel paints, and strong pin backs. Using quality materials will result in a more professional-looking pin that will last longer.
3. Be Patient
- Crafting takes time, and rushing through the process can lead to mistakes. Take your time with each step, especially when adding details or applying resin.
4. Practice Makes Perfect
- Don’t be discouraged if your first few pins don’t turn out exactly as planned. Like any craft, making custom lapel pins requires practice. The more you experiment, the better your results will be.
5. Experiment with Techniques
- Don’t be afraid to try new techniques or combine different materials. Experimenting with embossing powder, adding texture with fabric, or incorporating natural elements can lead to unique and innovative designs.
6. Seek Inspiration
- Look for inspiration in everyday life, nature, art, or even fashion. Browse online platforms like Pinterest or Instagram to see what other crafters are creating. Inspiration can come from anywhere, so keep your eyes open for ideas.
Where to Sell or Share Your Custom Lapel Pins
Once you’ve honed your skills and created a collection of custom lapel pins, you might consider sharing or selling them. Here are some ways to showcase your work:
1. Online Marketplaces
- Custom Lapel Pins Keyword: Online marketplaces like Etsy, eBay, or Shopify are great platforms for selling handmade items. Create a shop and list your pins with high-quality photos and detailed descriptions. Engage with customers by offering custom orders or creating themed collections.
2. Social Media
- Use social media platforms like Instagram, Facebook, or TikTok to showcase your custom lapel pins. Share photos and videos of your crafting process, finished products, and packaging. Engage with your followers by offering giveaways, discounts, or behind-the-scenes content.
3. Craft Fairs and Markets
- Local craft fairs and markets are perfect for selling handmade items in person. Set up a booth and display your pins creatively to attract customers. Craft fairs are also a great way to network with other crafters and gain exposure in your community.
4. Gift to Friends and Family
- Even if you’re not selling your pins, consider gifting them to friends and family. Handmade gifts are always appreciated, and your custom lapel pins will be cherished by those who receive them.
5. Collaborations
- Collaborate with other artists, crafters, or businesses to create exclusive lapel pin designs. This can help you reach a broader audience and add value to your creations. Consider partnering with local shops, influencers, or organizations that align with your brand.
The Joy of Creating and Giving Custom Lapel Pins
Creating custom lapel pins is not only a fun and creative outlet, but it’s also a way to give meaningful, personalized gifts that will be cherished for years. Whether you’re making pins for friends, family, or even to sell, the process of crafting something unique and special is incredibly rewarding.
By following the ideas and techniques outlined in this article, you’ll be well on your way to mastering the art of DIY custom lapel pins. So gather your materials, let your creativity flow, and enjoy the process of making something truly one-of-a-kind. Happy crafting!
If you are interested in buying high quality custom trading pins, you can call us at 1-800-641-1299 or fill out a FREE quote form.